
How to Create a Timber List for Residential Framing Projects
Why Timber Lists Matter
Creating a timber list is one of the most important steps in framing construction. Whether you’re working on a new build, extension, or renovation, having an accurate list of all the timber required can mean the difference between a smooth job and major delays.
But many carpenters and builders still create their timber lists manually, risking costly errors, over-ordering, or running out of materials mid-job. Knowing how to develop a thorough and accurate timber list can save you time, money, and frustration.
Here’s a clear, step-by-step guide on how to create a timber list for your next framing job—and how TimberTec can make the whole process faster and more reliable.
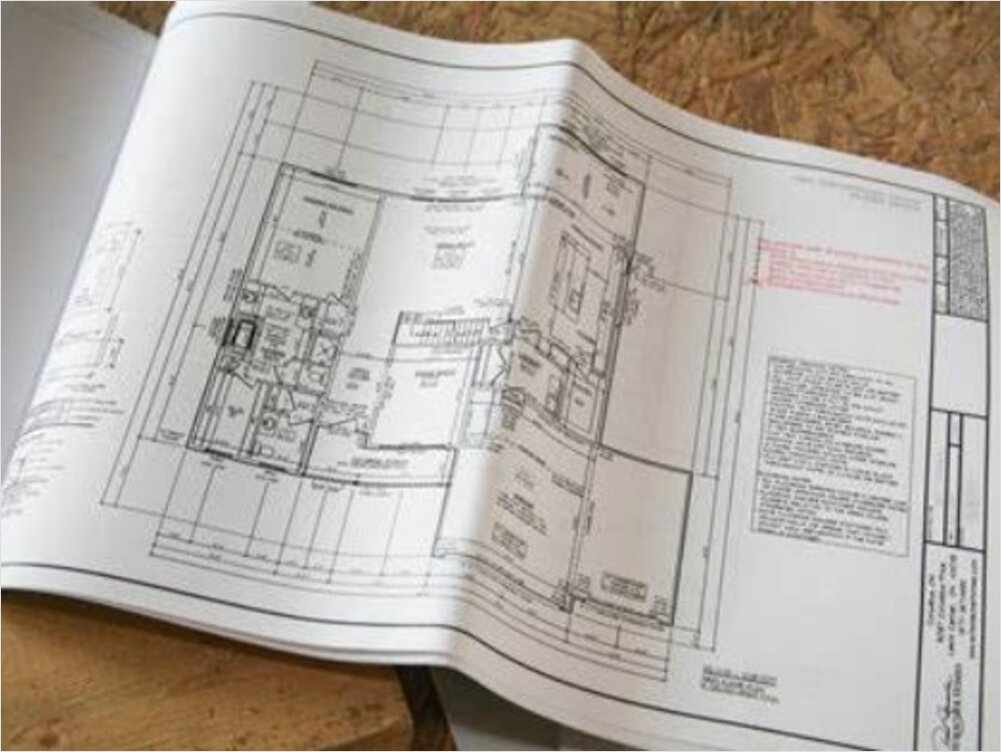
Step 1: Gather Your Plans and Documentation
Before anything else, gather all the documents related to the build:
- Architectural plans (floor plans, elevations, sections)
- Structural engineering plans (framing layouts, bracing details)
- Specifications and material schedules
Look for key details in these documents, including:
- Wall dimensions and heights
- Roof type (truss, rafter, etc.)
- Load-bearing vs non-load-bearing walls
- Internal vs external wall framing
- Bracing and tie-down requirements
You can’t start building a timber list without fully understanding what the structure calls for.
Need help reading plans? Check our guide here
Step 2: Break Down the Project Into Framing Components
Now that you have the plans, break the project into major framing areas. These commonly include: 1. Wall Frames: ◦ Plates (top & bottom) ◦ Studs ◦ Noggings ◦ Openings (lintels, trimmers, sills) 2. Floor Framing: ◦ Joists ◦ Bearers ◦ Blocking 3. Roof Framing: ◦ Rafters or trusses ◦ Ridge beams ◦ Collar ties and ceiling joists (for pitched roofs) 4. Bracing and Tie-Downs: ◦ Plywood or metal bracing ◦ Straps, anchors, and hold-downs
Each section requires specific lengths and types of timber depending on the design, load requirements, and span distances. Refer to span tables and engineering notes to determine the correct sizes.
Resource: AS1684 Timber Framing Code – for standards, spans, and load-bearing rules.
Step 3: Start Measuring and Counting
Once you’ve divided the project into framing components, begin manually counting or measuring each element:
- Plates and Studs: Count wall lengths and divide by spacing (e.g. 450 or 600mm centres)
- Joists and Rafters: Use span tables to determine the correct size and spacing
- Lintels and Headers: Refer to window and door schedules and structural drawings
- Bracing: Check the required bracing units and coverage area
It’s important to work methodically and double-check as you go. Errors in your timber list—such as underestimating studs or forgetting bracing—can delay the build and blow your budget.
Tip: Always allow for waste (usually 10–15%), cutting loss, and longer lengths for trimming on-site.
Step 4: Organise and Format Your Timber List
Now that you’ve measured and counted everything, compile your timber list in a clear, organised format. A good timber list includes:
- Quantity
- Timber Size and Type (e.g. 90x45 MGP10, 240x45 LVL13)
- Length (if specific)
- Usage (e.g. top plates, studs, rafters)
- Comments or notes (e.g. treated, external use, H3 rating)
Example:

This list can now be sent to your timber supplier for quoting and delivery.
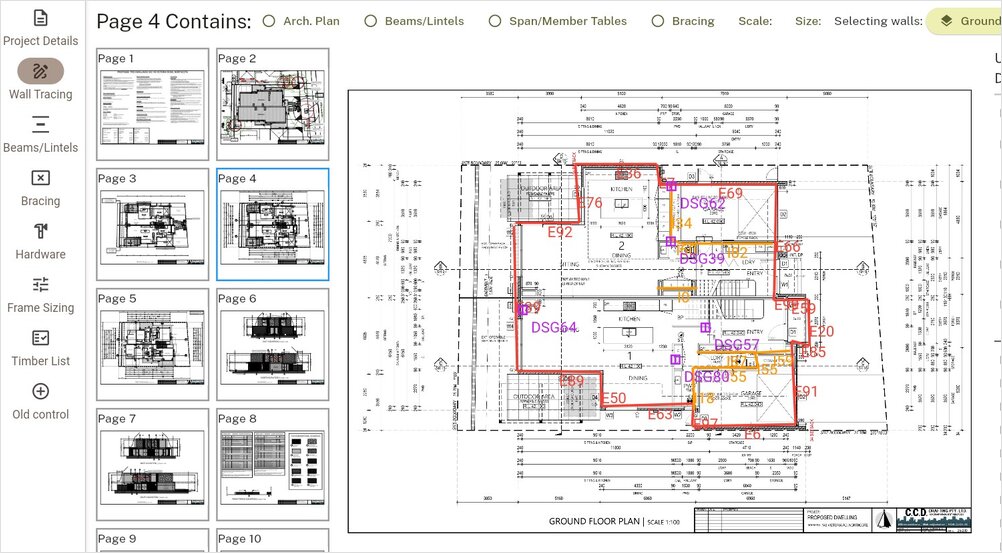
Step 5: Let TimberTec Do the Heavy Lifting
While the manual method works, it’s time-consuming and prone to error. Enter TimberTec—an AI-powered tool designed to automate timber lists for carpenters and builders.
With TimberTec:
- Simply upload your PDF plans
- Let the software scan and identify all framing elements
- Receive a complete, downloadable timber list in minutes
- Customise based on your preferred timber suppliers or sizes
- Easily adjust for project changes
- Easily identify which beam or lintel is specified for which location
- With a click of a button print or share timber list to your crew or suppliers as you please.
No rulers, no missed studs, no wasted hours after work.
Useful links
Common Questions & Answers
Q: Does TimberTec account for different wall heights and bracing?
A: Yes. The AI recognises wall heights, lengths, bracing units, and framing elements per the plans.
Q: Can I use TimberTec if I’m not tech-savvy?
A: Definitely. It’s built for tradies, not techies. If you can open an email and upload a file, you’re good to go. It has been specifically designed to make it as easy as possible to use.
Smarter Timber Lists Start Here
Creating a timber list doesn’t have to be a grind. By understanding the process—and using the right tools—you can get more accurate, efficient, and faster at one of the most important parts of your framing project.
The old way is hours of manual counting, late nights, and constant double-checking.
The new way is TimberTec..
So if you want to win back your time, increase your quoting speed, and reduce costly site mistakes, give TimberTec a go and take your framing game to the next level.